功能表述
- 支持关系图谱力布局(智能布局)、环形布局、中心布局、自定义布局
- 支持层级展示
Echarts支持力布局(智能布局)、环形布局。其他布局需要自己指定节点的坐标(x, y)
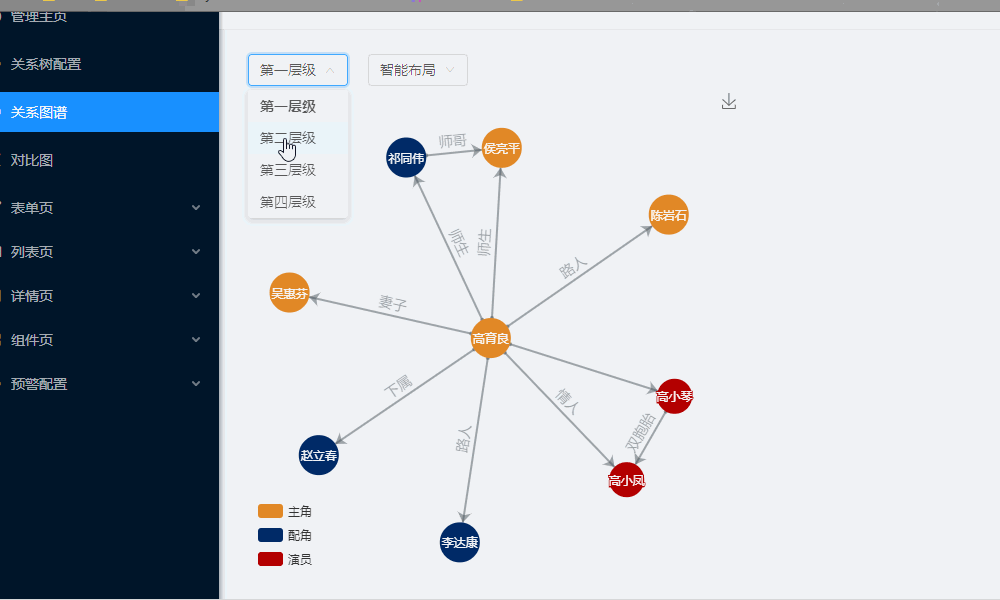
效果图
代码实现
整个实现代码详见 这里
中心布局坐标实现
// 中心布局使用自定义节点坐标实现
    generatorNodeXY = () => {
      if (this.nodes.length < 1) {
        return;
      }
      // 确定圆心(x0, y0)
      const x0 = this.width / 2;
      const y0 = this.height / 2;
      // 将nodes进行深拷贝
      const newNodes = JSON.parse(JSON.stringify(this.nodes));
      if (this.nodes.length === 1) {
        newNodes[0].x = x0;
        newNodes[0].y = y0;
        return newNodes;
      }
      // 确定弧度间隔
      const unitAngle = 360 / (this.nodes.length - 1);
      // 半径
      const radius = Math.min(this.width, this.height) / 2;
      let step = 1;
      // 给每个node附上坐标
      for (const node of newNodes) {
        if (node.name === this.centerOfNode) {
          node.x = x0;
          node.y = y0;
        } else {
          node.x = x0 + radius * Math.cos(unitAngle * step * Math.PI / 180);
          node.y = y0 + radius * Math.sin(unitAngle * step * Math.PI / 180);
          step += 1;
        }
      }
      return newNodes;
    }
节点可拖拽实现
if (this.state.layout === 'custom') {
      myChart.setOption({ // option.series[0].data
        // 声明一个 graphic component,里面有若干个 type 为 'circle' 的 graphic elements。
        // 这里使用了 echarts.util.map 这个帮助方法,其行为和 Array.prototype.map 一样,但是兼容 es5 以下的环境。
        // 用 map 方法遍历 data 的每项,为每项生成一个圆点。
        graphic: echarts.util.map(data, (dataItem, dataIndex) => {
          return {
            // 'circle' 表示这个 graphic element 的类型是圆点。
            id: dataIndex,
            type: 'circle',
            cursor: 'move',
            shape: {
              // 圆点的半径。
              r: 10,
            },
            style: {
              stroke: '#1edf5c',
              fill: 'rgba(128, 128, 128, 0.1)',
            },
            // 用 transform 的方式对圆点进行定位。position: [x, y] 表示将圆点平移到 [x, y] 位置。
            // 这里使用了 convertToPixel 这个 API 来得到每个圆点的位置,下面介绍。
            position: myChart.convertToPixel({ seriesIndex: 0 }, [dataItem.x, dataItem.y]),

            // 这个属性让圆点不可见(但是不影响他响应鼠标事件)。
            invisible: true,
            // 这个属性让圆点可以被拖拽。
            draggable: true,
            // 把 z 值设得比较大,表示这个圆点在最上方,能覆盖住已有的折线图的圆点。
            z: 100,
            // 此圆点的拖拽的响应事件,在拖拽过程中会不断被触发。下面介绍详情。
            // 这里使用了 echarts.util.curry 这个帮助方法,意思是生成一个与 onPointDragging
            // 功能一样的新的函数,只不过第一个参数永远为此时传入的 dataIndex 的值。
            ondrag: echarts.util.curry(onPointDragging, dataIndex),
          };
        }),
        series: [
          {
            roam: true,
            draggable: false,
          },
        ],
      });

      myChart.on('dataZoom', updatePosition);
      myChart.on('graphRoam', updatePosition);
      window.addEventListener('resize', updatePosition);
    }